Injection
Molding
ORCATEK supports injection molding development from prototype validation through production planning, mold design preparation, tooling coordination, material selection, and scalable manufacturing support.
Prototype To Production Manufacturing
Injection molding is a manufacturing process used to produce plastic parts by injecting molten plastic into a machined mold cavity. Once the material cools and solidifies, the mold opens and the finished part is ejected.
The process is commonly used when a product needs repeatable parts, better surface finish, tighter consistency, faster production cycles, and lower per-part cost at higher quantities. Unlike 3D printing, injection molding requires tooling up front, but once the mold is built, it can produce consistent parts over many cycles.
How The Process Works
Part Review
CAD files, drawings, samples, or concepts are reviewed for moldability, wall thickness, draft, undercuts, tolerances, and production goals.
Mold Design
The mold cavity, core, parting line, gate location, ejector strategy, cooling approach, and inserts are planned around the part geometry.
Tooling
Prototype or production tooling is machined, finished, assembled, and prepared for validation using the selected plastic material.
Production
Plastic is heated, injected under pressure, cooled inside the mold, ejected, inspected, and repeated for production quantities.
Molds, Cores & Production Tooling
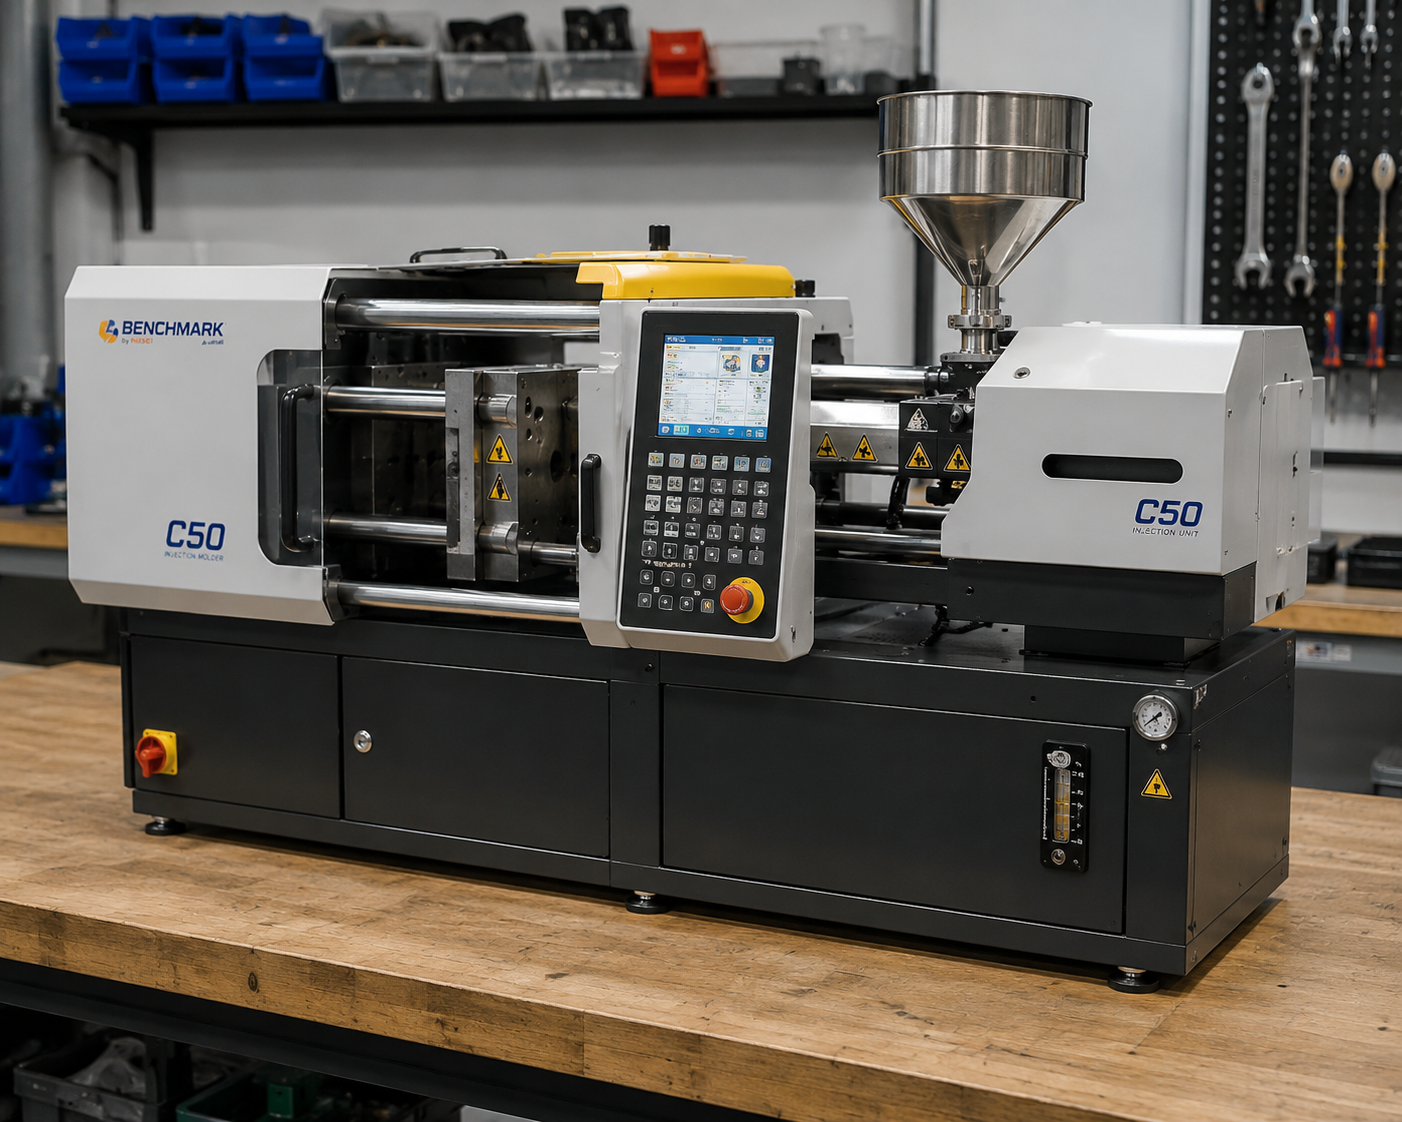
Prototype Tooling
Prototype molds are used to validate part design, material behaviour, fitment, function, and manufacturability before committing to higher-volume production tooling.
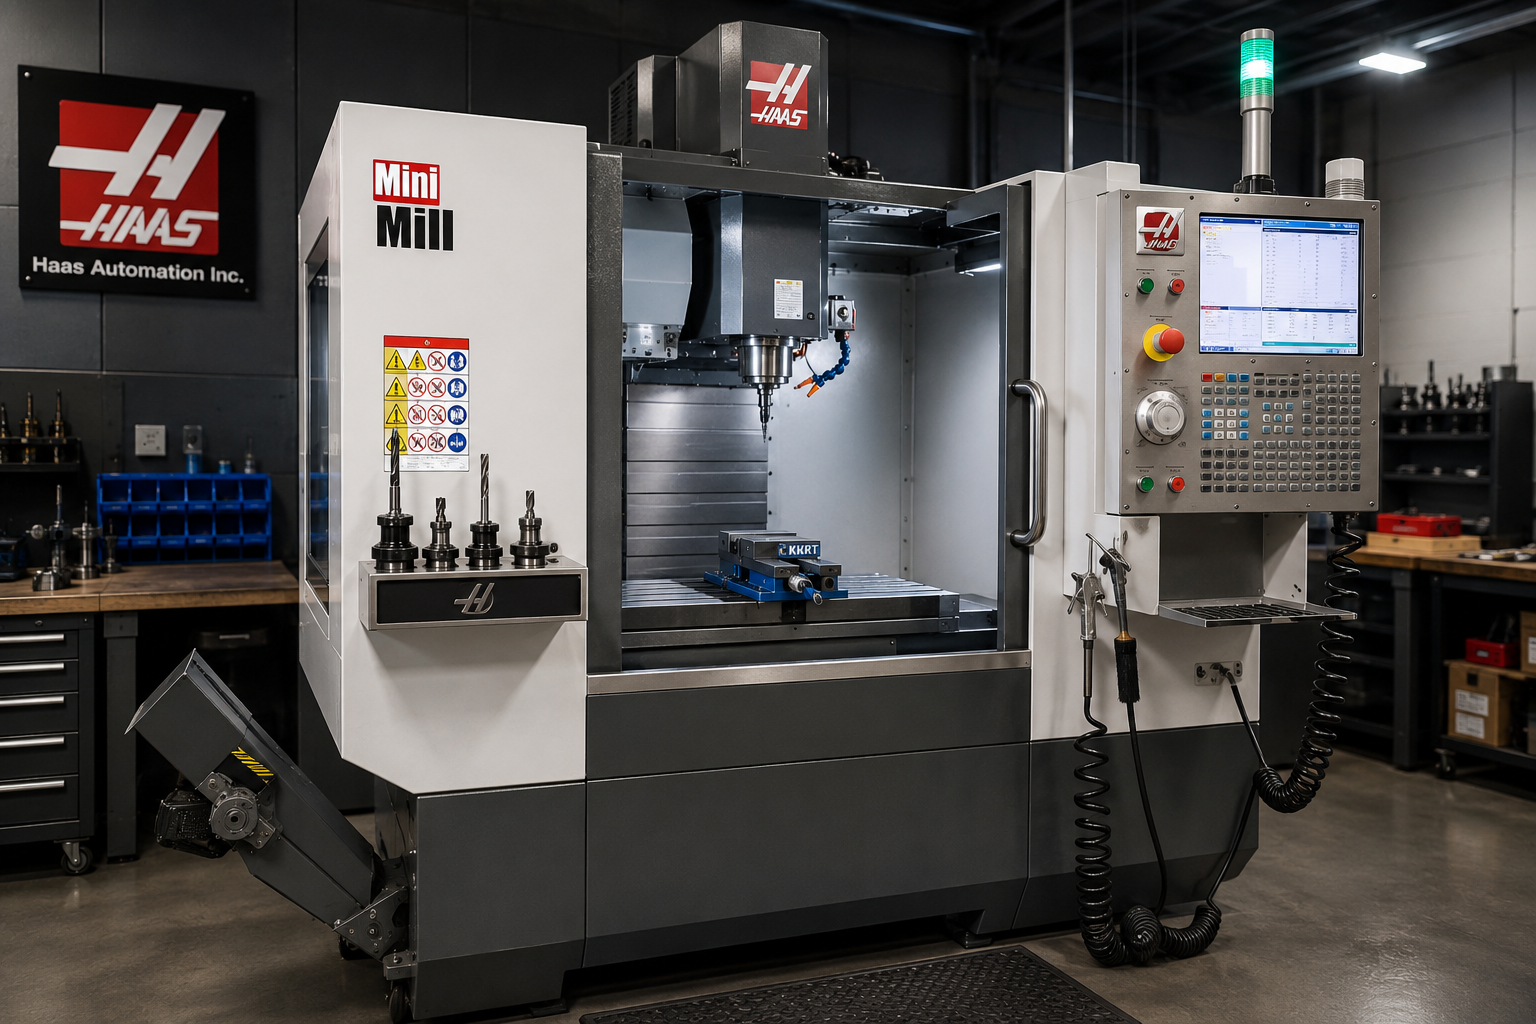
Production Tooling
Production molds are built for repeatable manufacturing, longer tool life, tighter part consistency, better cycle performance, and scalable production requirements.
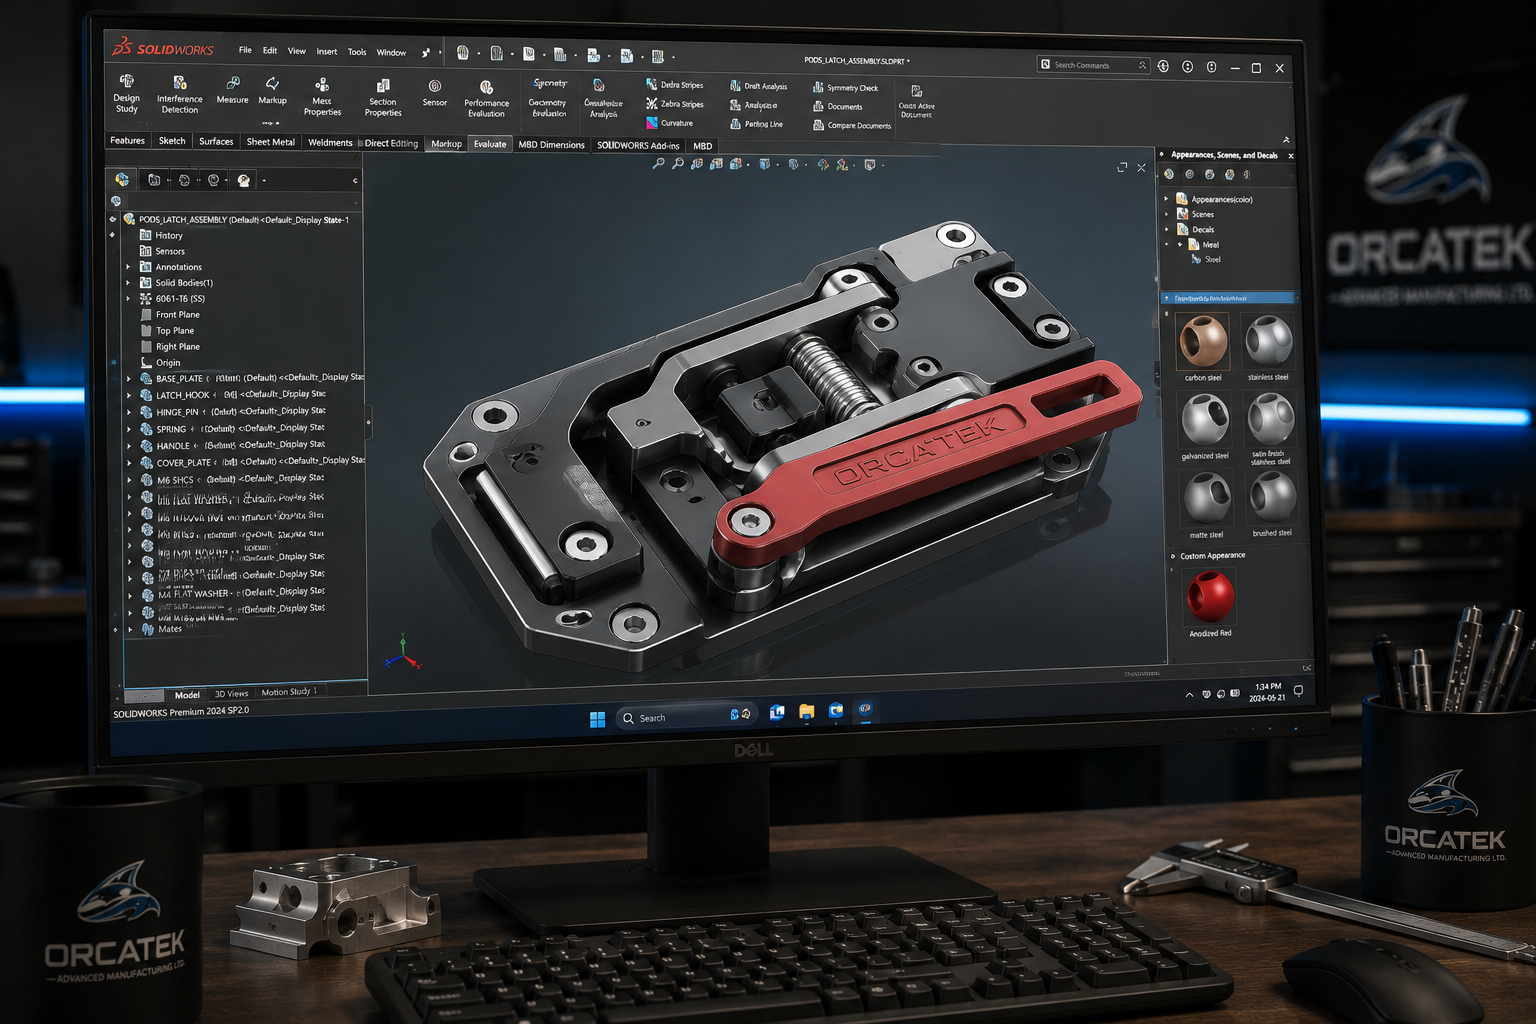
Core & Insert Systems
Some parts require removable cores, threaded inserts, actuating mechanisms, unscrewing cores, collapsible cores, or manually removed core systems depending on geometry.
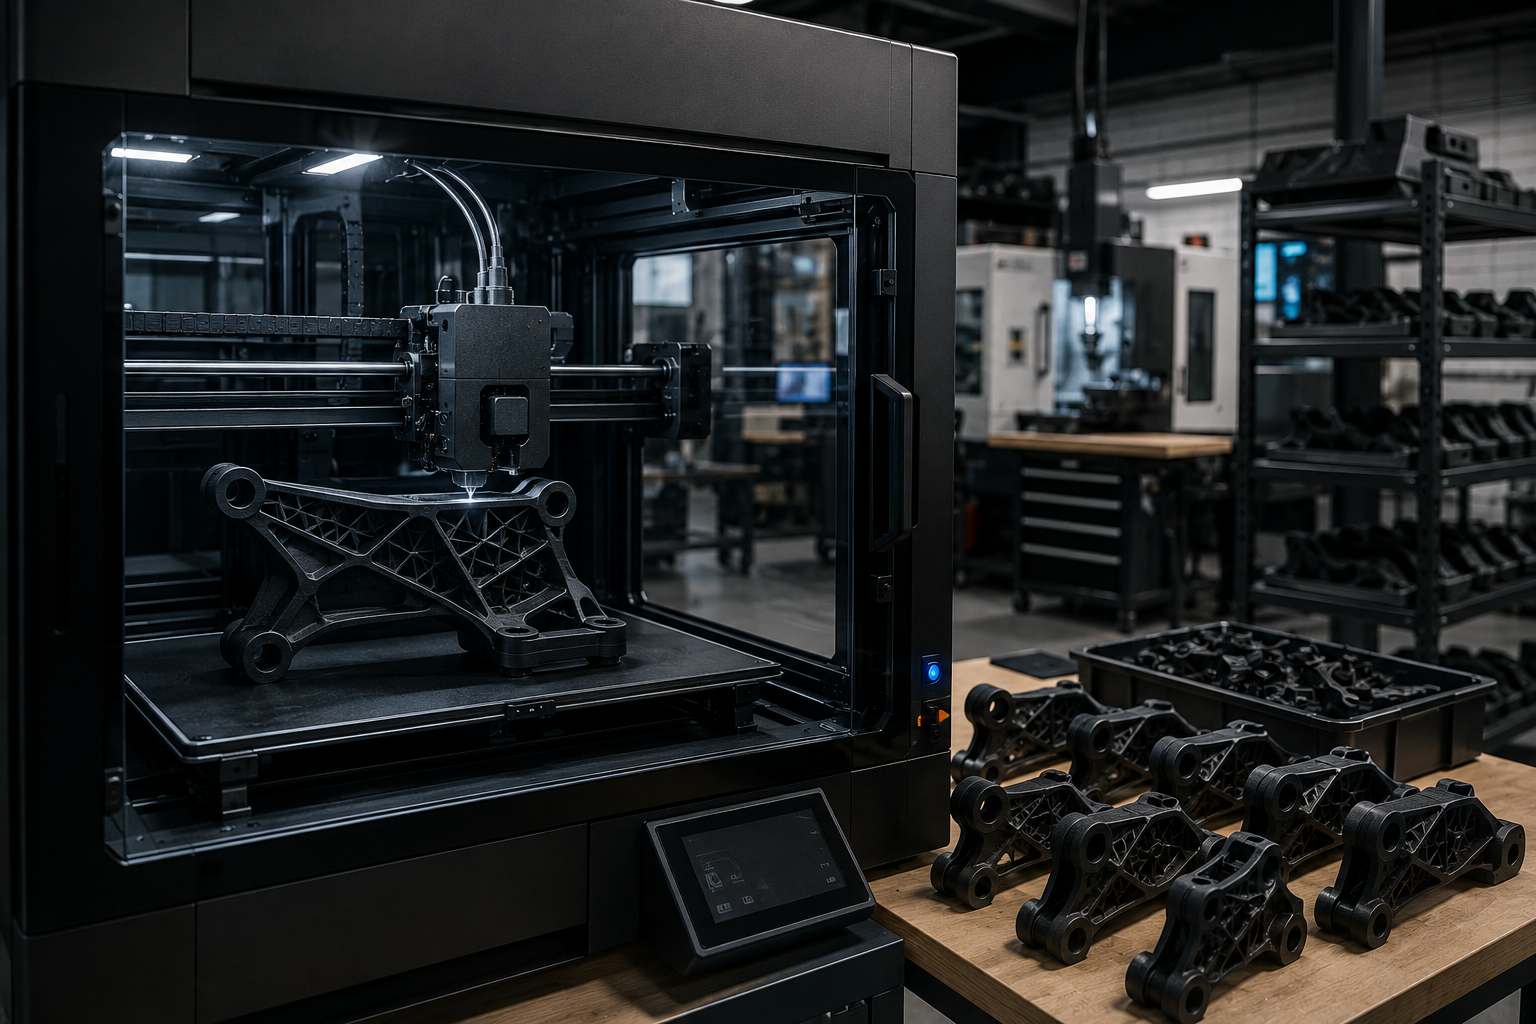
Tooling Coordination
ORCATEK can coordinate design preparation, manufacturability review, mold strategy, specialty tooling support, supplier coordination, and project planning.
Good Molded Parts Start With Good Design
Injection molded parts must be designed with manufacturing in mind. Wall thickness, draft angle, shrinkage, parting lines, gate location, material flow, ejector placement, undercuts, surface finish, and tolerance expectations all affect mold cost and part quality.
ORCATEK can help identify design changes before tooling begins, reducing the risk of expensive mold revisions later. This is especially important for threaded features, sealing surfaces, snap fits, bottle caps, complex internal geometry, and parts that require removable or actuated core systems.
When To Move Into Injection Molding
3D Printing Stage
3D printing is best for early prototypes, fit checks, visual samples, quick design changes, small quantities, and concept testing before expensive tooling is built.
Injection Molding Stage
Injection molding becomes more practical when the design is stable, quantities are higher, material properties matter, and consistent repeatable production is required.
Tooling, Engineering & Production
Engineering & Mold Design
CAD development, manufacturability review, tooling design preparation, mold layout planning, parting line review, and production readiness support.
Prototype Tooling
Prototype molds, test molds, single-cavity tooling, short production validation, and early-stage tooling support.
Production Runs
Production quantities are quoted by part cycle time, resin, labour, setup, machine time, inspection, packaging, and project requirements.
Send The Part, Drawing, File, Or Concept
ORCATEK can review existing CAD files, drawings, prototype samples, product concepts, 3D printed test parts, or early manufacturing ideas and help determine the next practical step toward injection molding.